
When you’re running a small business, saving time = saving your sanity.
That’s where automation can help—it’s like finding the cheat code for your workday. The average sales and customer service rep can save up to 16 hours per week with automation, according to Zapier.
That’s time you could spend doing meaningful work that builds your business.
Zapier is the magic wand that connects everything from Google Sheets to Facebook Ads with barely any setup. Here’s how to make the most of Close + Zapier.
Get Started on the Right Foot: Best Practices for Using Zapier and Close
Think of Zapier as the chain linking other apps with your Close workflows. Once you set up an automation (or Zap), you can connect the dots between third-party apps and Close without any manual input.
Know Your Zapier Nomenclature
To build a Zapier workflow, you first need to speak Zapier’s language. Fortunately, it’s much simpler than English—because it only requires learning a handful of words:
- Zap: A complete automation workflow. Once you have a “Zap” in place, you’ve successfully automated a connection between multiple apps.
- Triggers: An event that kicks off your workflow. Think of it like the light switch on the wall. When it kicks on, the rest of the “Zap” springs into action.
- Example: Imagine you’re using Typeform to collect information from new leads on your website. Using Zapier, you would trigger something like “New Entry in Typeform.” Once someone submits the form, that’s your trigger.
- Actions: The second part of this basic cause-and-effect formula. Think of it simply: “If A, then do B.” Once a trigger is set off, what action should follow?
- Example: Once you receive a new lead in Typeform, you might set the Action as “Create Lead in Close.” This way, Zapier automatically captures the information from the new entry in Typeform and inputs it into Close. Congrats—you’ve successfully automated your lead intake into Close. It’s that easy.
- Searches: The Zap above sounds great. But what if an existing customer fills out your Typeform page? You run the risk of them turning into a duplicate lead. To avoid that, you can ask Zapier to search through Close and check if this new information matches an existing lead.
Sound complicated? Not sure where to start? Check Zapier’s quickstart guide for more information, or browse our guide to setting up Zapier + Close.
Decide What You Want to Automate
Robots can’t run your sales process (yet). 🤞 So, don’t fall into the trap of automating everything.
Instead, focus on the repetitive tasks that suck time from your day: like manual data entry, creating reports, or updating your team on events in Close. Automating those things will leave you more time for human-to-human interactions, which will make a difference in your sales process.
Need ideas? Hop over to Zapier’s templates to see what automations other people are running.
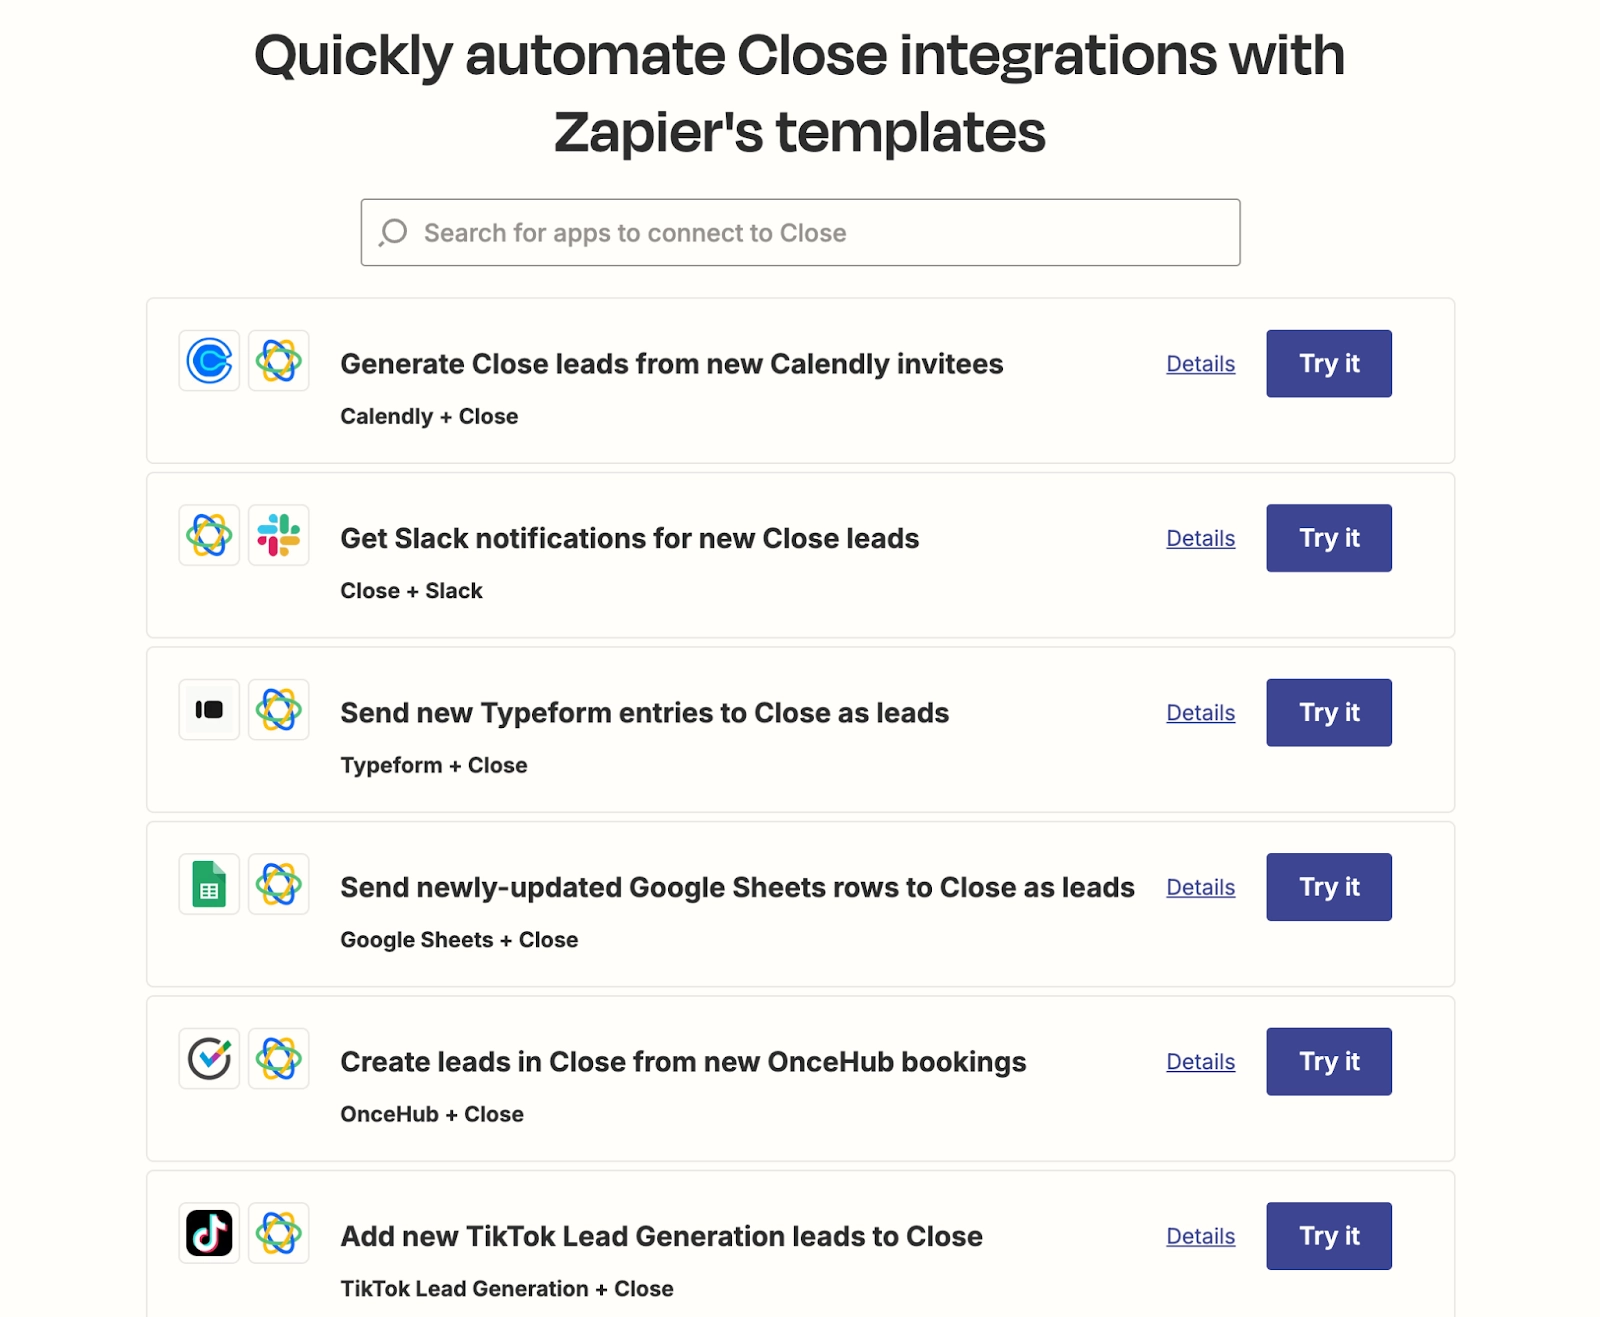
Most commonly, these will involve:
- Adding new lead data from different sources into Close
- Exporting Close data into other apps for more detailed reporting
- Notifying and updating your team in other apps when new events occur in Close
But with Zapier, the world is your oyster, and your automations can adapt to your process needs.
Identify the Information You Want to Move
Of course, not every Zap requires importing massive quantities of data between apps—especially if you’re testing Zapier for the first time. It’s more important that the correct information moves between your apps.
For example, if you’re importing new leads from a form on your website, start with the basic information:
- Name
- Phone number
- Website
You can automatically import this data into Close whenever a new lead fills out your form.
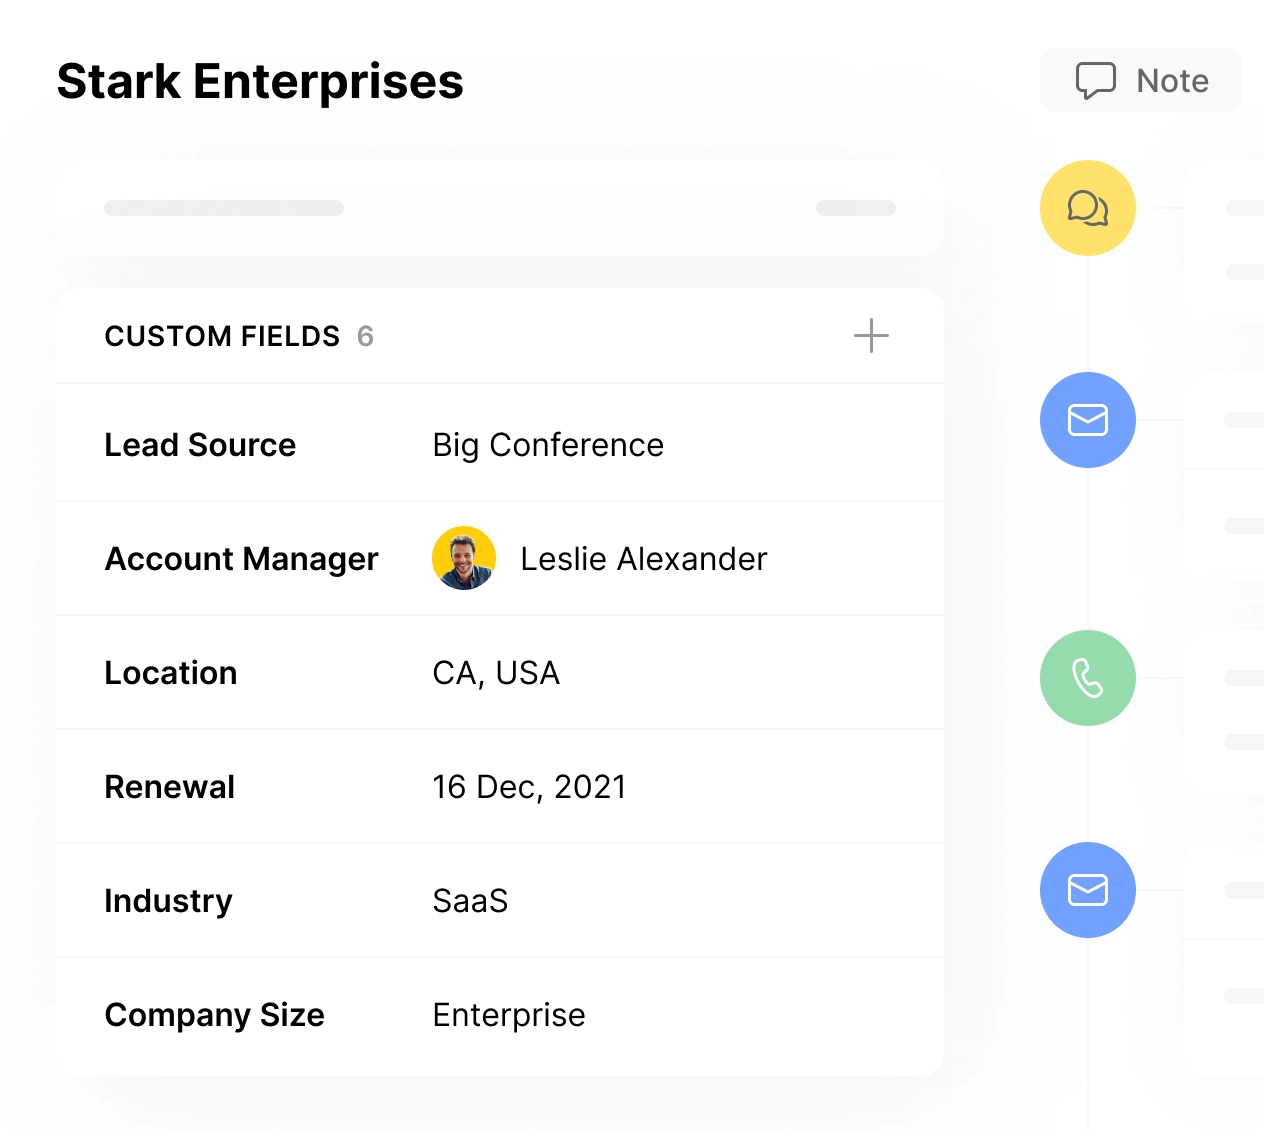
But what if you’re collecting more detailed information in your form? You’ll need to create Custom Fields to pull that data into Close.
In Close, Custom Fields are customizable attributes you can assign to a lead or contact. This might include:
- Industry
- Timezone
- Company size
- Lead Source
- Lead Owner
- Budget
- Renewal Date
- …and basically anything else you might need!
To create Custom Fields in Close, go to Settings > Custom Fields. Then, you can toggle between Leads, Contacts, or Opportunities (to determine where the field applies).
Once you know what data you want to move between apps, you can map that data to the right Custom Fields in Close. Then, your automation will pull the right data into each lead page.
Test Your Triggers and Actions with Sample Data
If this is your first time creating a Zap, don’t assume it will run perfectly on the first go. (I’ll save my story about creating an accidental automation loop that ran 1000 times before I realized what was going on for another day.)
Fortunately, Zapier allows you to test each automation step before you set it live. Do this to make sure you’ve mapped your data correctly. Once you’ve successfully tested a step, you’ll see a green checkmark in Zapier—your “go-ahead” for the next step.
And if your test fails? You’ll see an error message in the Test tab in Zapier, which should point you in the right direction of what failed.
By testing each step as you go, you’ll make sure your workflow runs smoothly every time. Start simple and work your way up to more complex Zapier automations, testing as you go, and you’ll be able to automate the hell out of your sales process.
Get Inspired: 7 Ways to Integrate Close with Other Tools in Your Stack
Ready to learn how to integrate Close with other tools? From Typeform to Slack and beyond, these integrations will help you get the most out of your full sales and marketing stack.
1. Bring in New Leads to Close From Web Forms
So you’ve got new leads on your website and are using a form to capture them. Great! Now, it’s time to bring those new leads into Close automatically.
First, your leads must fill out some information in your form. Aside from the basics (name, contact information), you can add other fields to give you more insights into this new lead.
Here’s how to set up this workflow in Zapier:
- Trigger: New Entry in Typeform (or whichever form tool you’re using)
- Action: Search—Find Lead in Close
- Action: Create Lead in Close
From here, you can map the entries in Typeform to your Custom Fields in Close and add the information you want to see in the way you want to see it.
Done with the basics? You can customize this workflow even more to include more advanced steps, such as:
- Subscribing new leads from your Typeform into a Workflow in Close
- Assigning a user to this new lead
- Notifying the team via Slack that a new lead has been added to Close
2. Track New Bookings from Your Scheduling App as New Leads in Close
If your team is focused on booking calls, you probably have Calendly or Oncehub on your site. Or, your sales team may be sending out booking links directly to new prospects.
Want to track new bookings in Close? There’s a Zap for that.
Here’s how you’ll set it up:
- Trigger: Invitee Created in Calendly
- Action: Search—Find Lead in Close
- Action: Create Lead in Close
With this setup, Zapier will search for an existing lead in Close that matches the new call booked in Calendly. If there is no existing lead, the workflow will automatically create a new one in Close with the entered data.
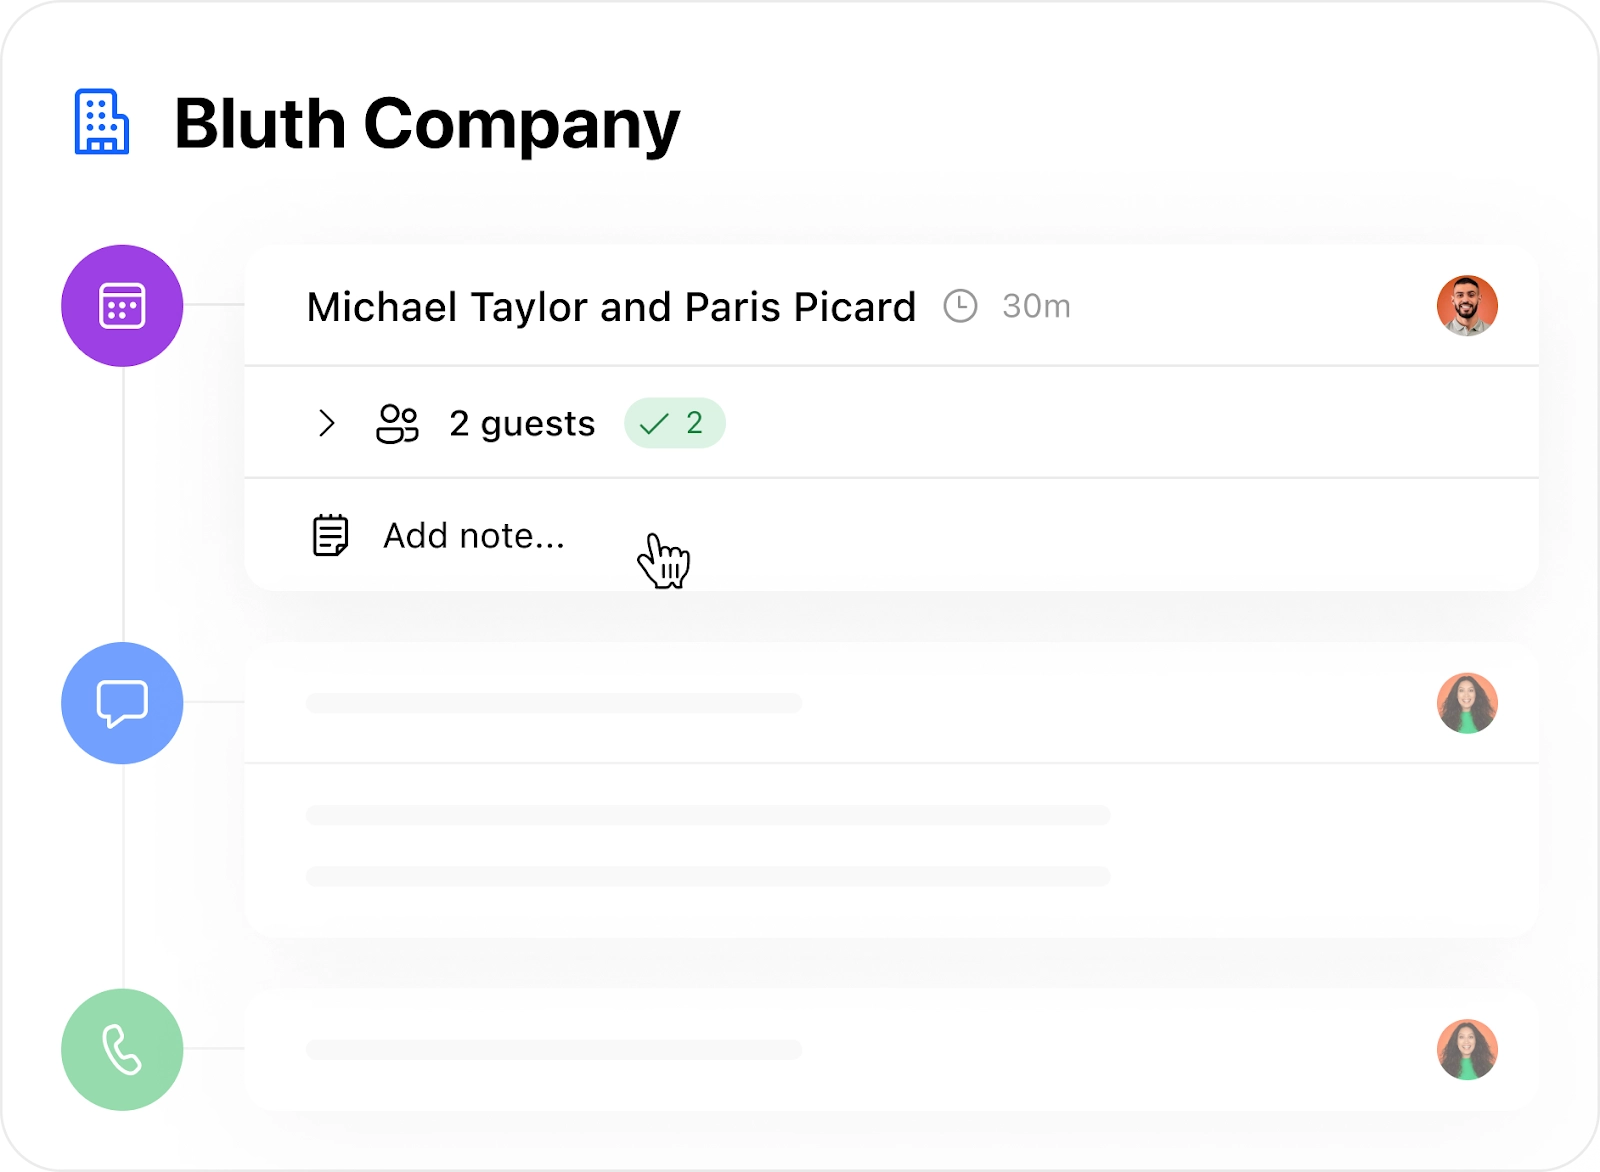
Want to see the upcoming meeting in Close? No sweat. If you’ve linked your calendar to Close, that meeting will show up automatically (no extra Zaps are necessary).
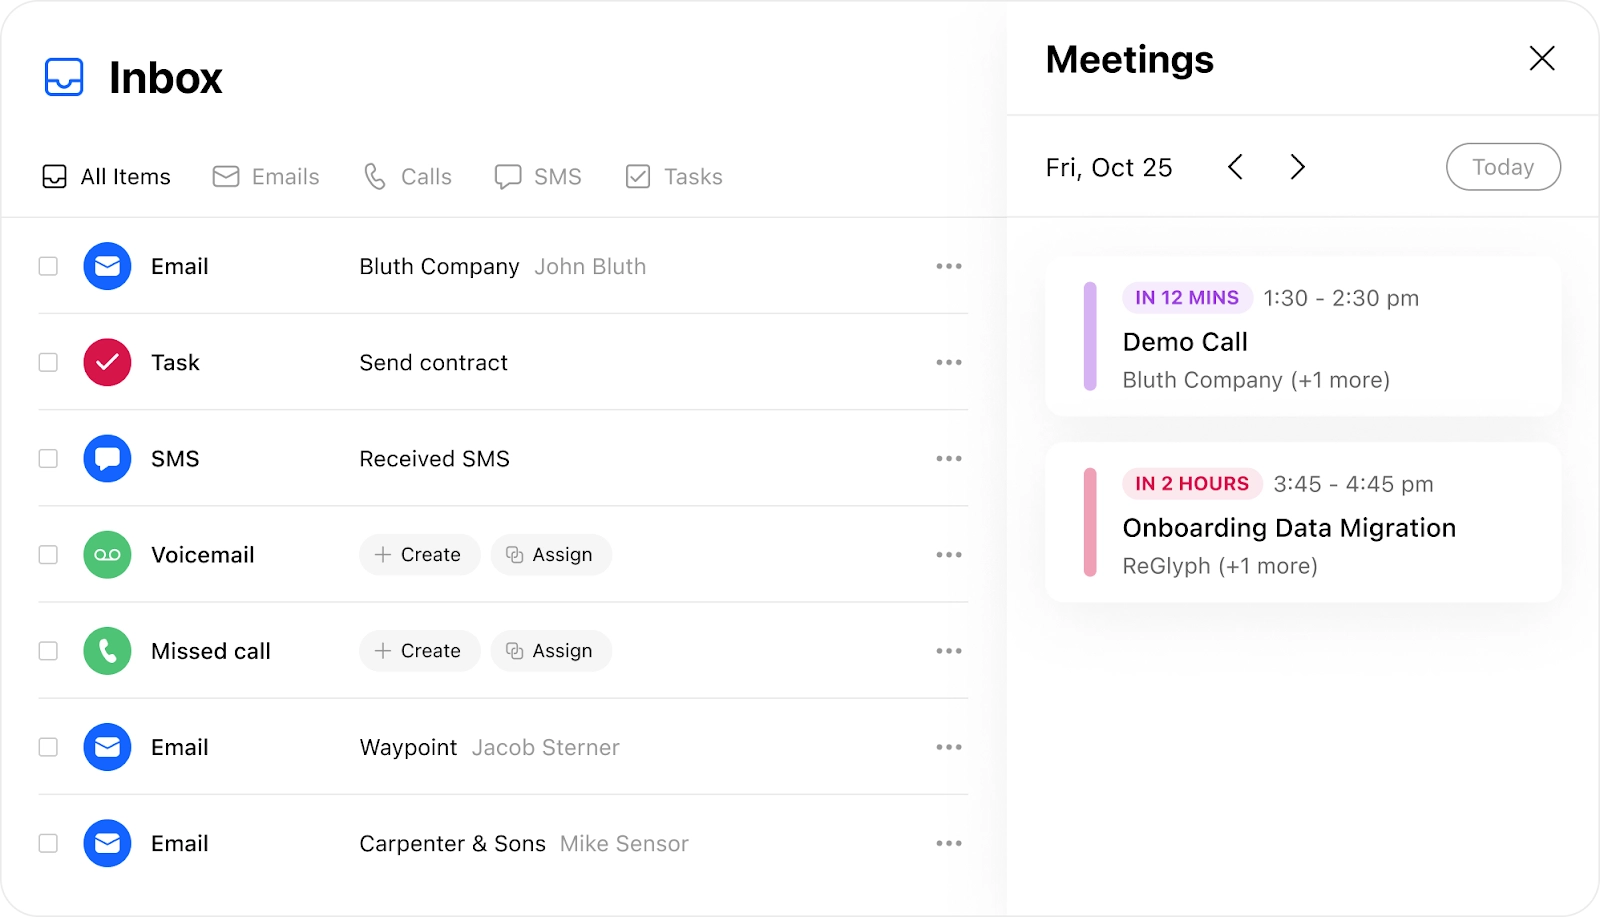
When that meeting is coming up, you’ll also see it on the lead page (and you can even join with one click from here).
3. Keep Your Team Informed in Real-Time with Automated Updates
Want your team to stay in the loop when a new lead comes in (without manually sending 50 Slack messages a day)?
You can use Zapier to message your team via Slack, Teams, or other team chat apps.
Note: This Zap is Close-approved! We use Zapier to send a message in a specific Slack channel for our sales team whenever a new lead fills out a form on our website or a previous trial user is reactivated.
What events warrant a message to your team? Well, that’s up to you. Your triggers in Close can be:
- New lead
- New call
- New contact
- New incoming or outgoing email
- New meeting
- New SMS
- …and more!
For example, if you want to let your team know that there’s a new meeting scheduled, you could set up a workflow like this:
- Trigger: New Meeting in Close
- Action: Send Channel Message
After configuring your message, you can choose which channel it will go to.
If you want to get fancy, you could also search for a specific user in Slack (e.g., the person assigned to the new lead) and send them a direct message. You can also choose which channel to send the message to based on specific lead details.
Of course, before you go crazy, think about what information is essential for your team to see in real-time. When set up correctly, this workflow will keep your team up-to-date with relevant information about new leads without bombarding them with automated messages.
4. Add New Social Media Leads into Close
If your team uses social media lead gen tools from Facebook, TikTok, LinkedIn, or Reddit, you’ll want to set up this Zap STAT.
These apps allow you to trigger a new workflow when you receive a new lead, either through a form on the social media platform, a response to an ad, or an event registration.
Here’s the simple version of this workflow:
- Trigger: New Lead from your chosen social media lead generation tool
- Action: Search—Find Lead in Close
- Action: Create Lead in Close
Want to track the results of a specific campaign? Add a step to this workflow to create a Custom Field on your new lead, labeling them with the campaign they entered from.
5. Manipulate Data with Google Sheets
Inside Close, you’ve got plenty of ways to see your sales data. But, if you want to pull that data into customized pivot tables, or combine it with data from other sources, then you’ll probably want to use Google Sheets.
For example, want to see all your data from a campaign in a single view? You can pull data from Close every time there’s a new lead with that campaign tag added, alongside data from other sources (such as social media, paid ads, or email).
How you set up this workflow will depend on the sources you pull from and how you want to manipulate the data. Here’s an example of how you might set it up:
- Trigger: Schedule by Zapier (you can choose the frequency of how often this workflow runs)
- Action: Run Opportunity Report in Close
- Action: Create Spreadsheet Row in Google Sheets
Once the data is loaded into your spreadsheet, you can dive in to the nitty-gritty details of your sales campaigns.
6. Log New Events from Outside Close
The further down in the sales pipeline, the more activity happens outside Close. Using Zapier, you can make sure all of those touchpoints are still logged in your system.
For example, you could:
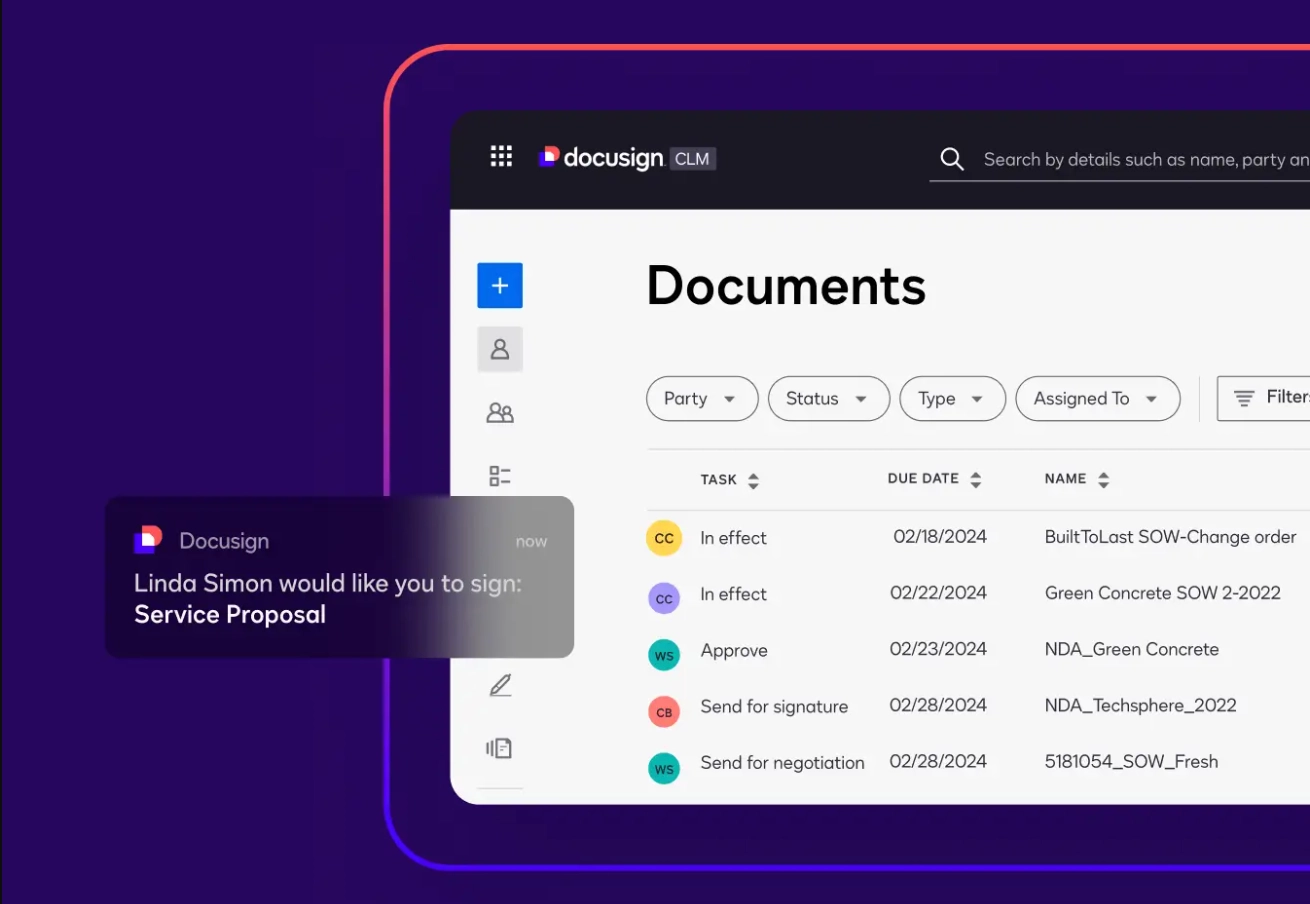
- Change the lead status when a prospect signs a contract through DocuSign
- Send the lead an email from Close when their payment fails in Stripe
- Update an Opportunity in Close when a new customer adds their payment information in Stripe
- Create a Custom Activity in Close when a customer signs a document in PandaDoc
The exact triggers and actions will depend on what you want to track and which tools you’re using. But the result will be a constant flow of information between your late-stage tool stack and Close.
7. Create Customized Automations within Close
The cool thing about Zapier? You can create as many actions as you want within the same tool.
Feeling the itch to create some ultra-complex automations within Close? Zapier has you covered.
Of course, Close has a native Workflow creator, meaning you can send emails, SMS messages, schedule phone calls, and more within the app itself.
But here are some extra-special automations you might set up with Zapier:
- Change the lead status when a lead completes a Workflow in Close.
- Use Zapier to search for leads in Close that haven’t been contacted in three months, but are marked as “Potential”. Then, trigger a new nurture Workflow.
- Trigger a new Workflow once a lead completes a Workflow in Close.
- Add a new task when the Opportunity status changes.
Obviously, these are just some ideas—how complex or simple your automations are will depend on the needs of your team.
Just remember: automations can’t replace human interaction. If your Zaps are removing the human factor from your sales process, it may be time to reevaluate.
Use Zapier + Close to Connect Your Stack and Sell Faster
Zapier. Automated. Workflow. Trigger. The words sound more complicated than they are in practice. But using Zapier and Close together is easier than it sounds. Import your account data, choose your Triggers and Actions, and run the simple Zapier tests. You’ll find that automation can happen in mere minutes—and once in place, that automation can continue to serve you for months, even years.


